Gear Guides
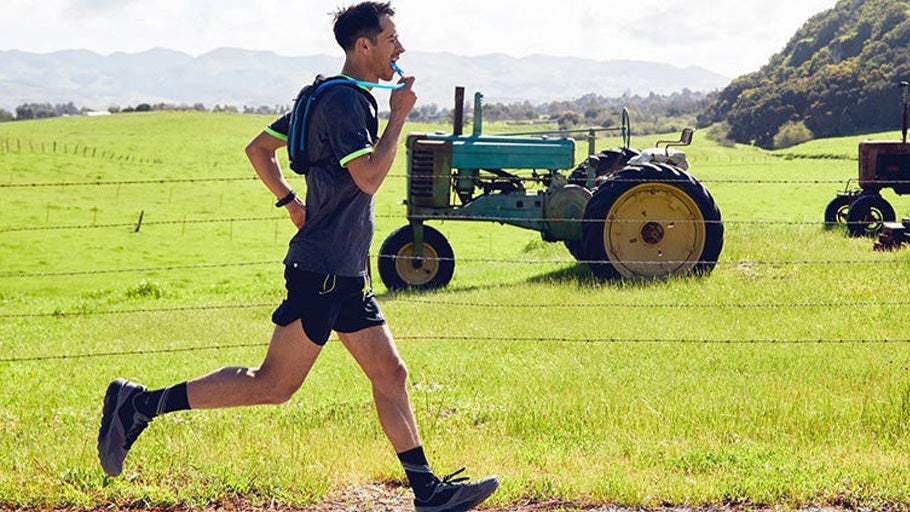
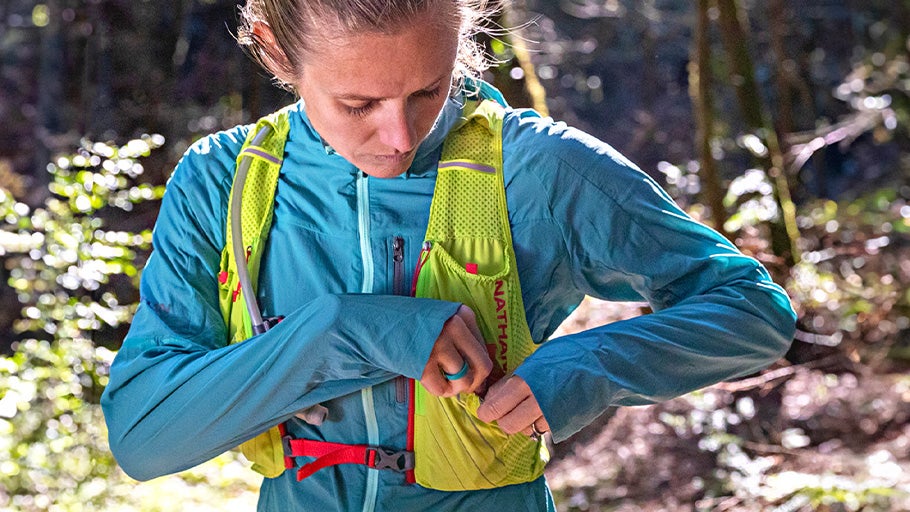
Best Hydration Vests and Running Belts of 2025
Is your hydration bladder developing an unpleasant smell or taste? Keeping your reservoir clean will extend its lifespan and prevent mold or mildew growth. Even though it may seem like a pain, with a bit of know-how, keeping your hydration bladder clean and sanitized can be a breeze. At Running Warehouse, we've put together our top tips and hacks for hard-to-clean reservoirs so you can make yours last!
Before you begin, make sure you have all the necessary cleaning tools on hand. A cleaning kit designed for hydration bladders can be extremely helpful. Gather the following:
|
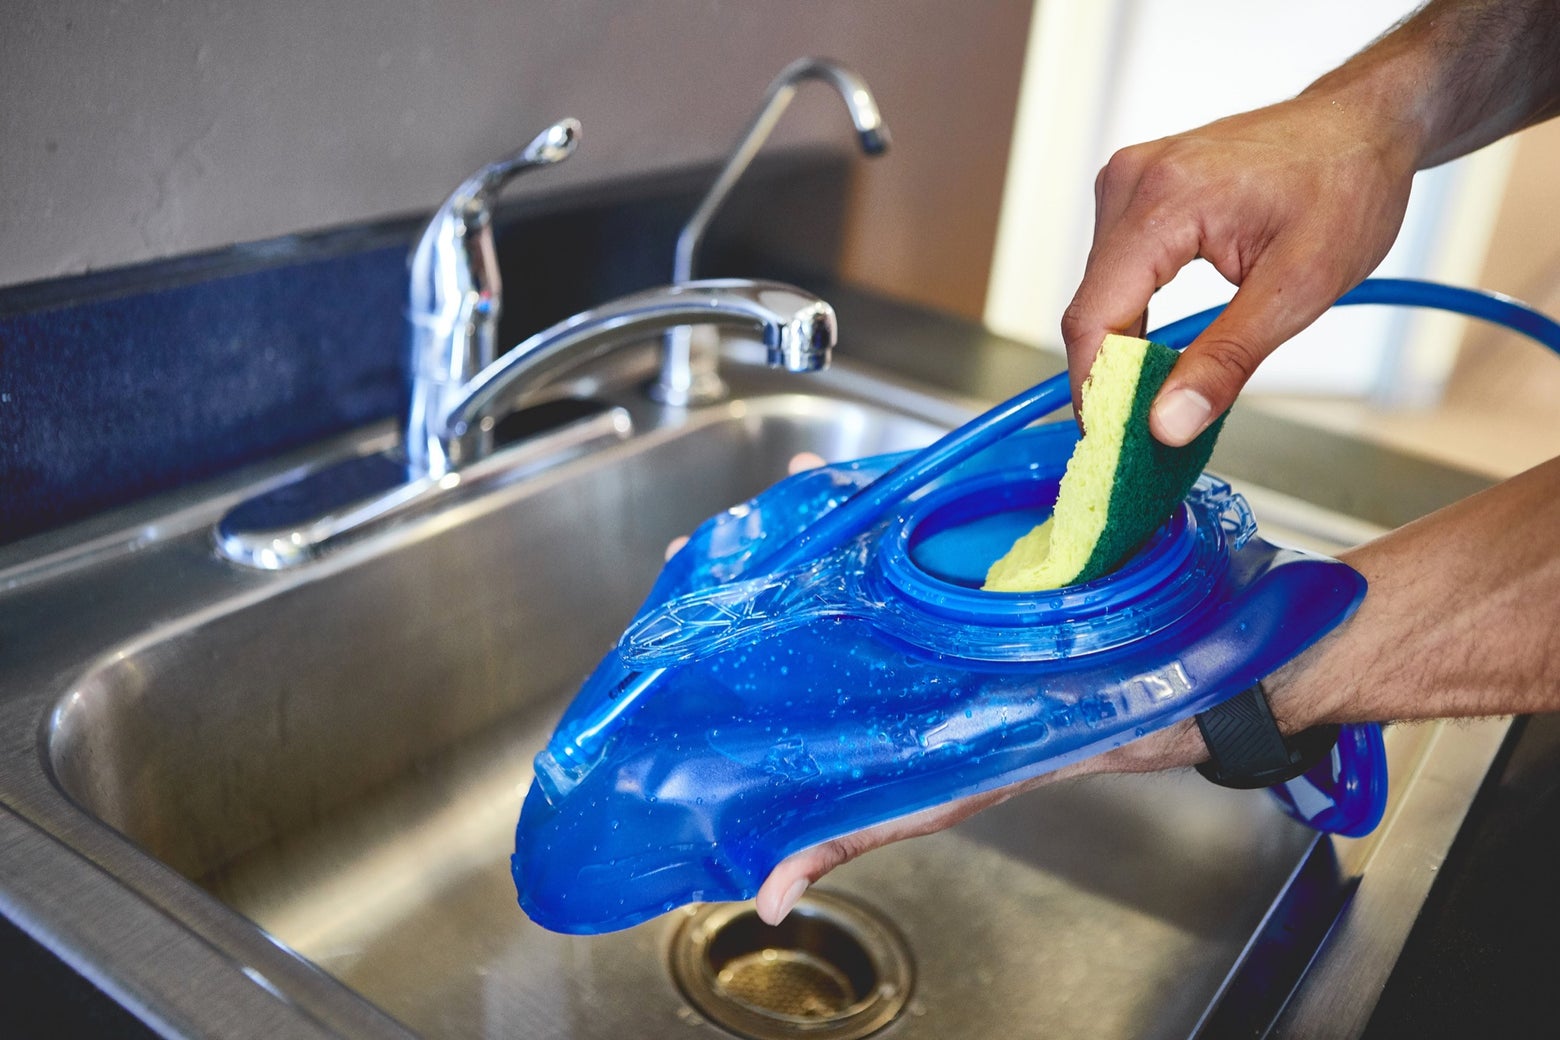
Empty and disassemble the hydration bladder by carefully removing the reservoir from its pouch or pack. Then, separate the hose and bite valve from the reservoir for a more thorough cleaning process, ensuring all components are properly cleaned.
| Reservoir Type | How to Clean |
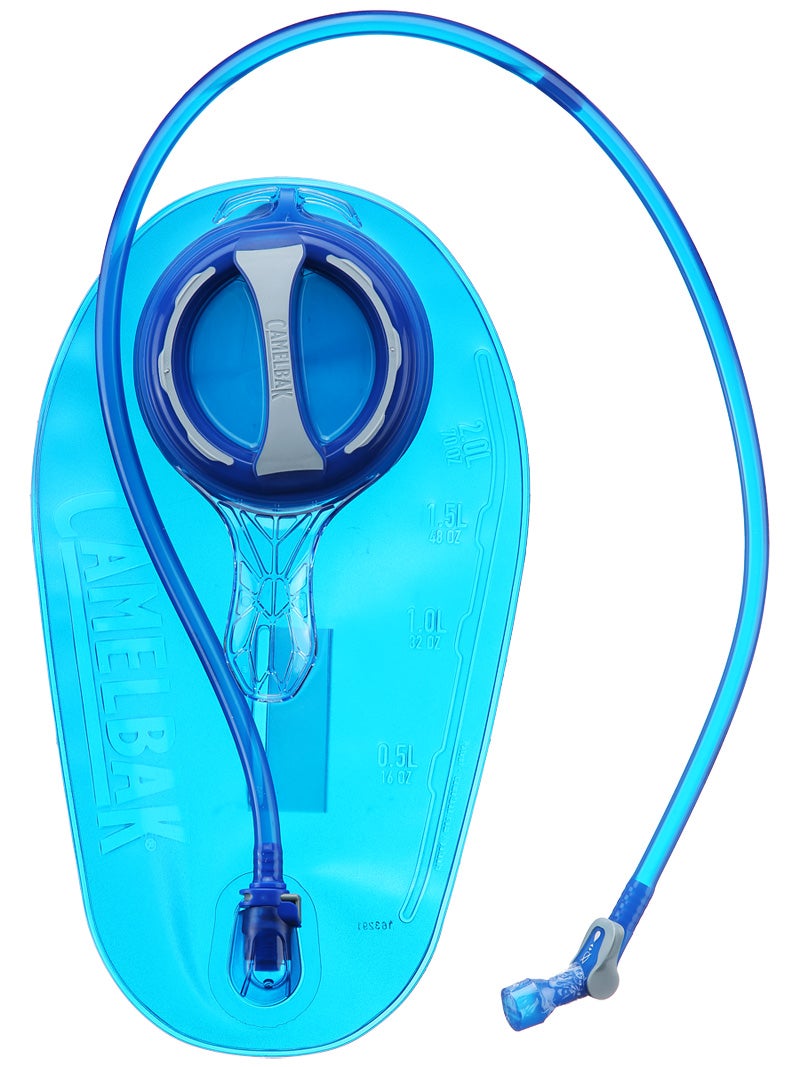
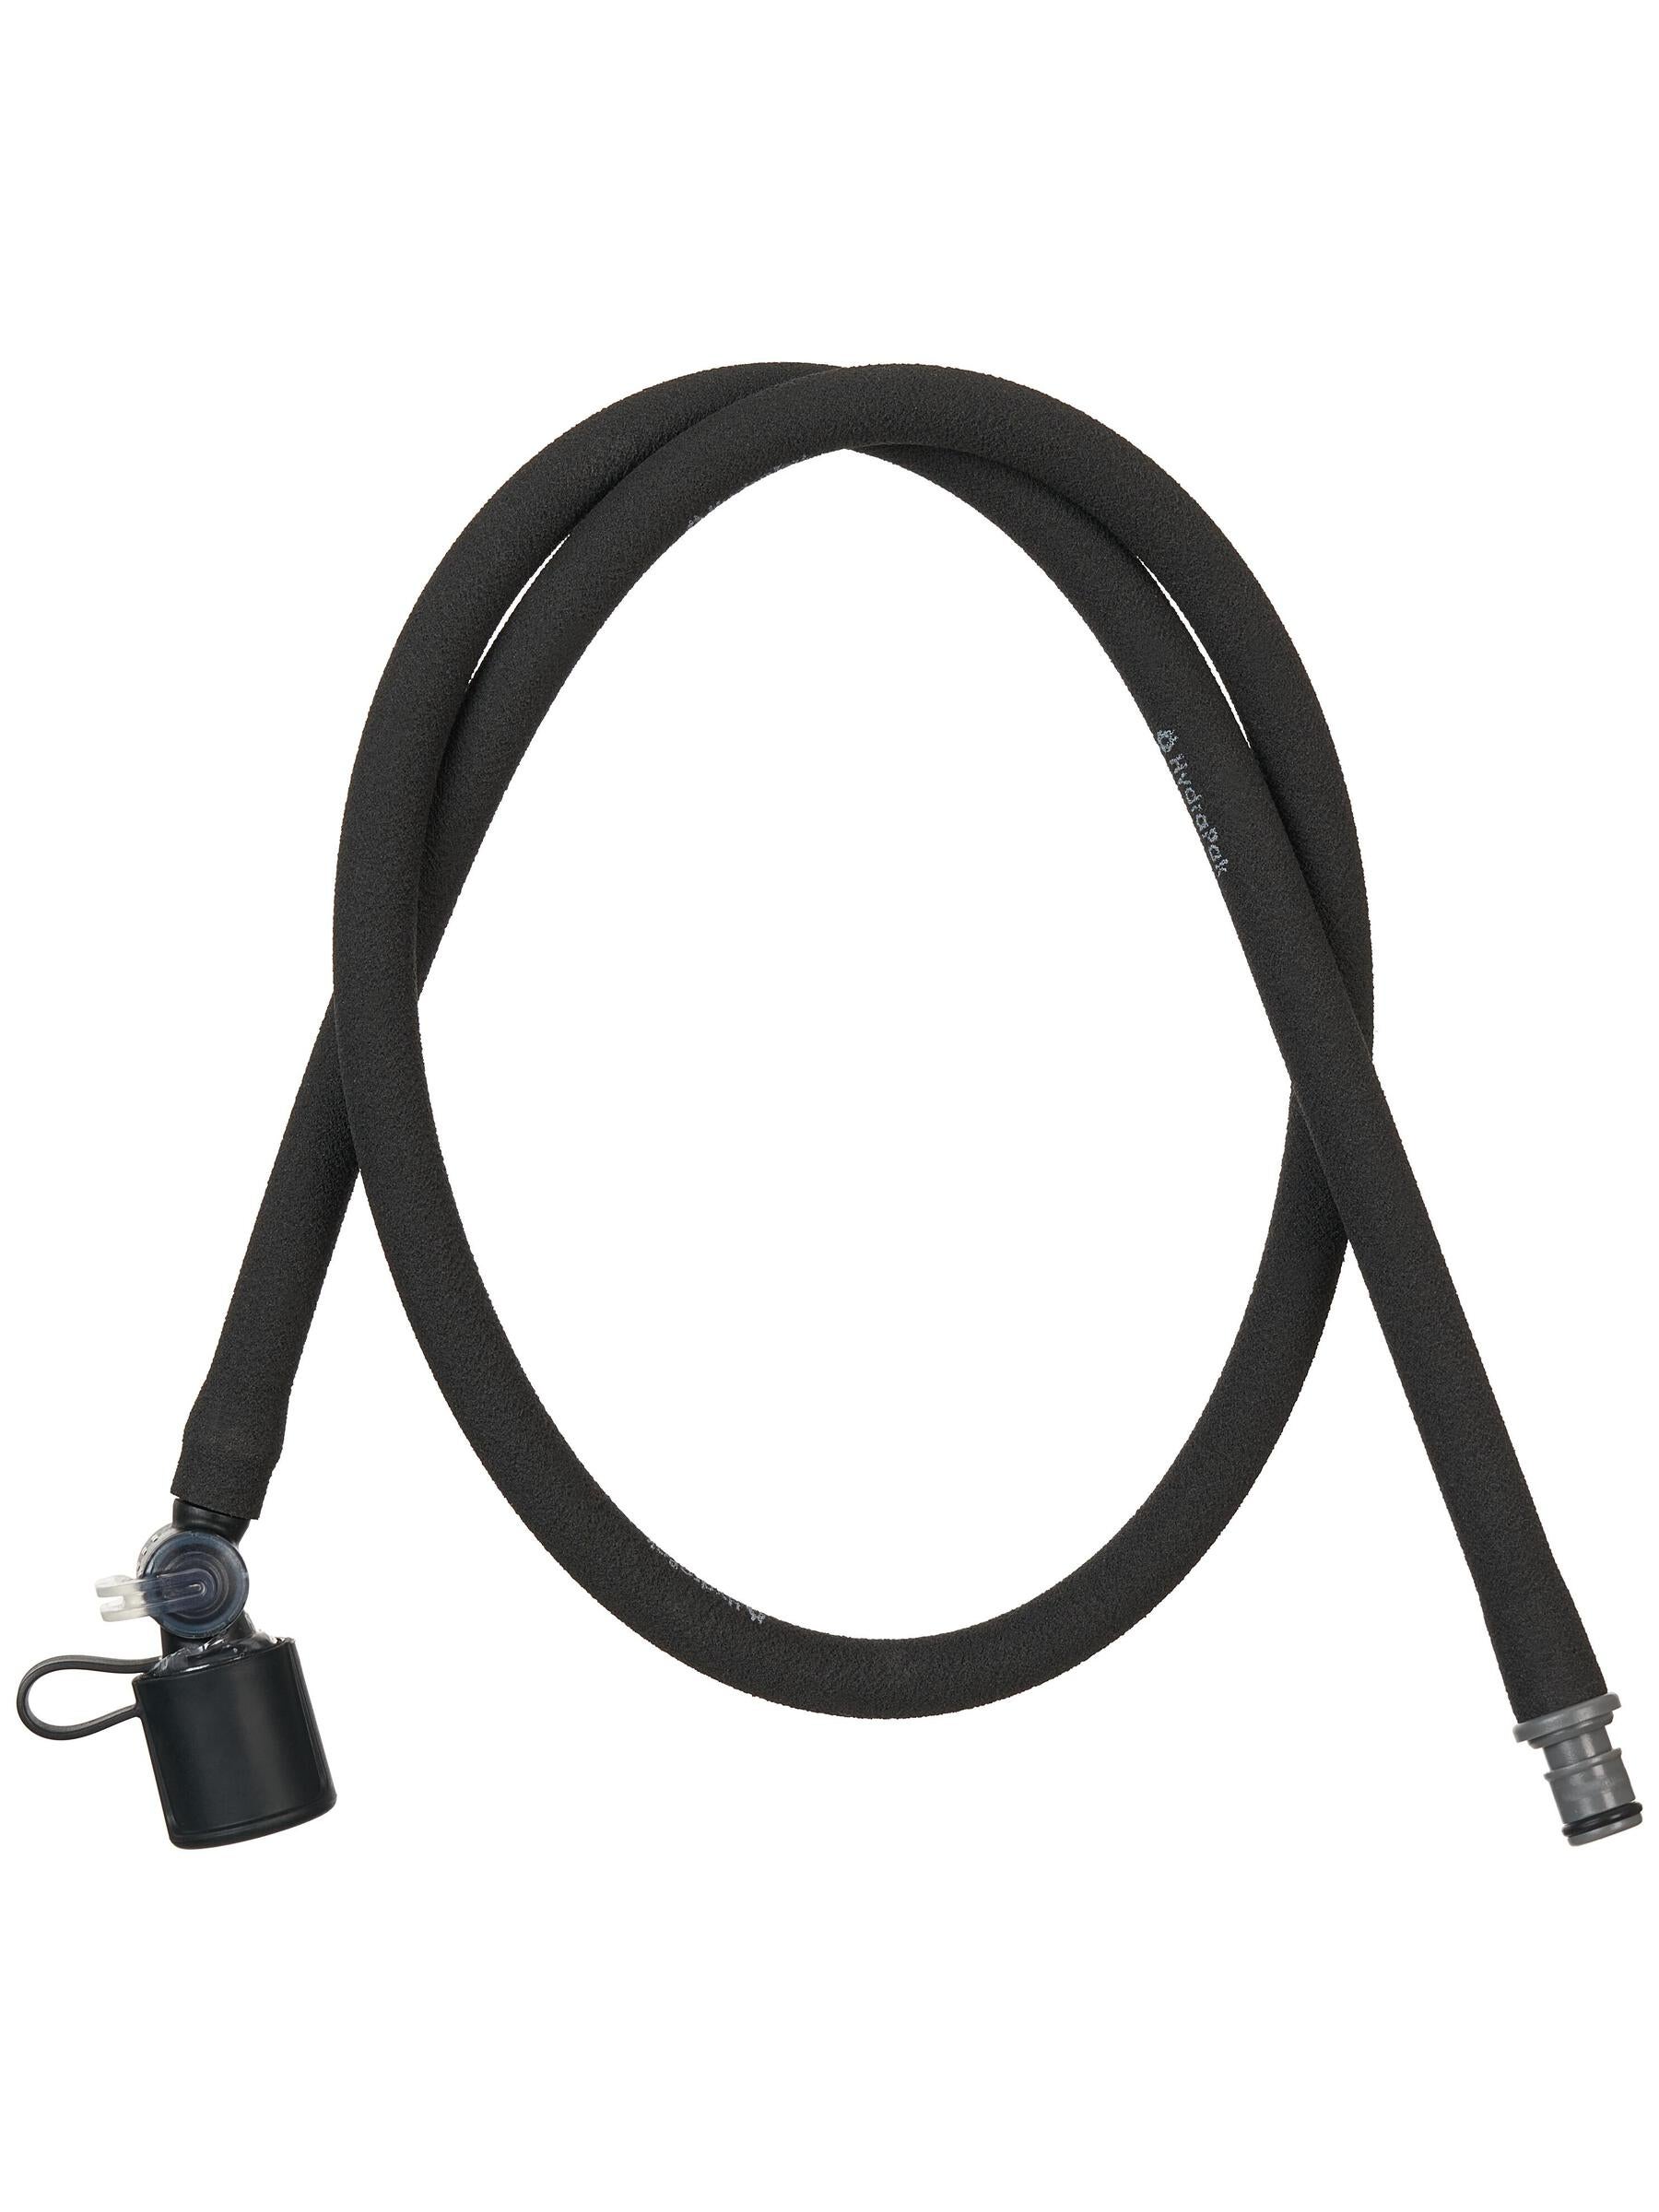 | Reservoir Tube: Disconnect the hose from the bladder using the quick-release button, or pull it free if one isn’t available. Wash the bite valve with warm, soapy water, then run hot tap water through the tube, pressing the valve to flush it completely. Use a tube brush for tough spots. Disassemble the bite valve to clean all parts, then drain and let everything dry fully. |
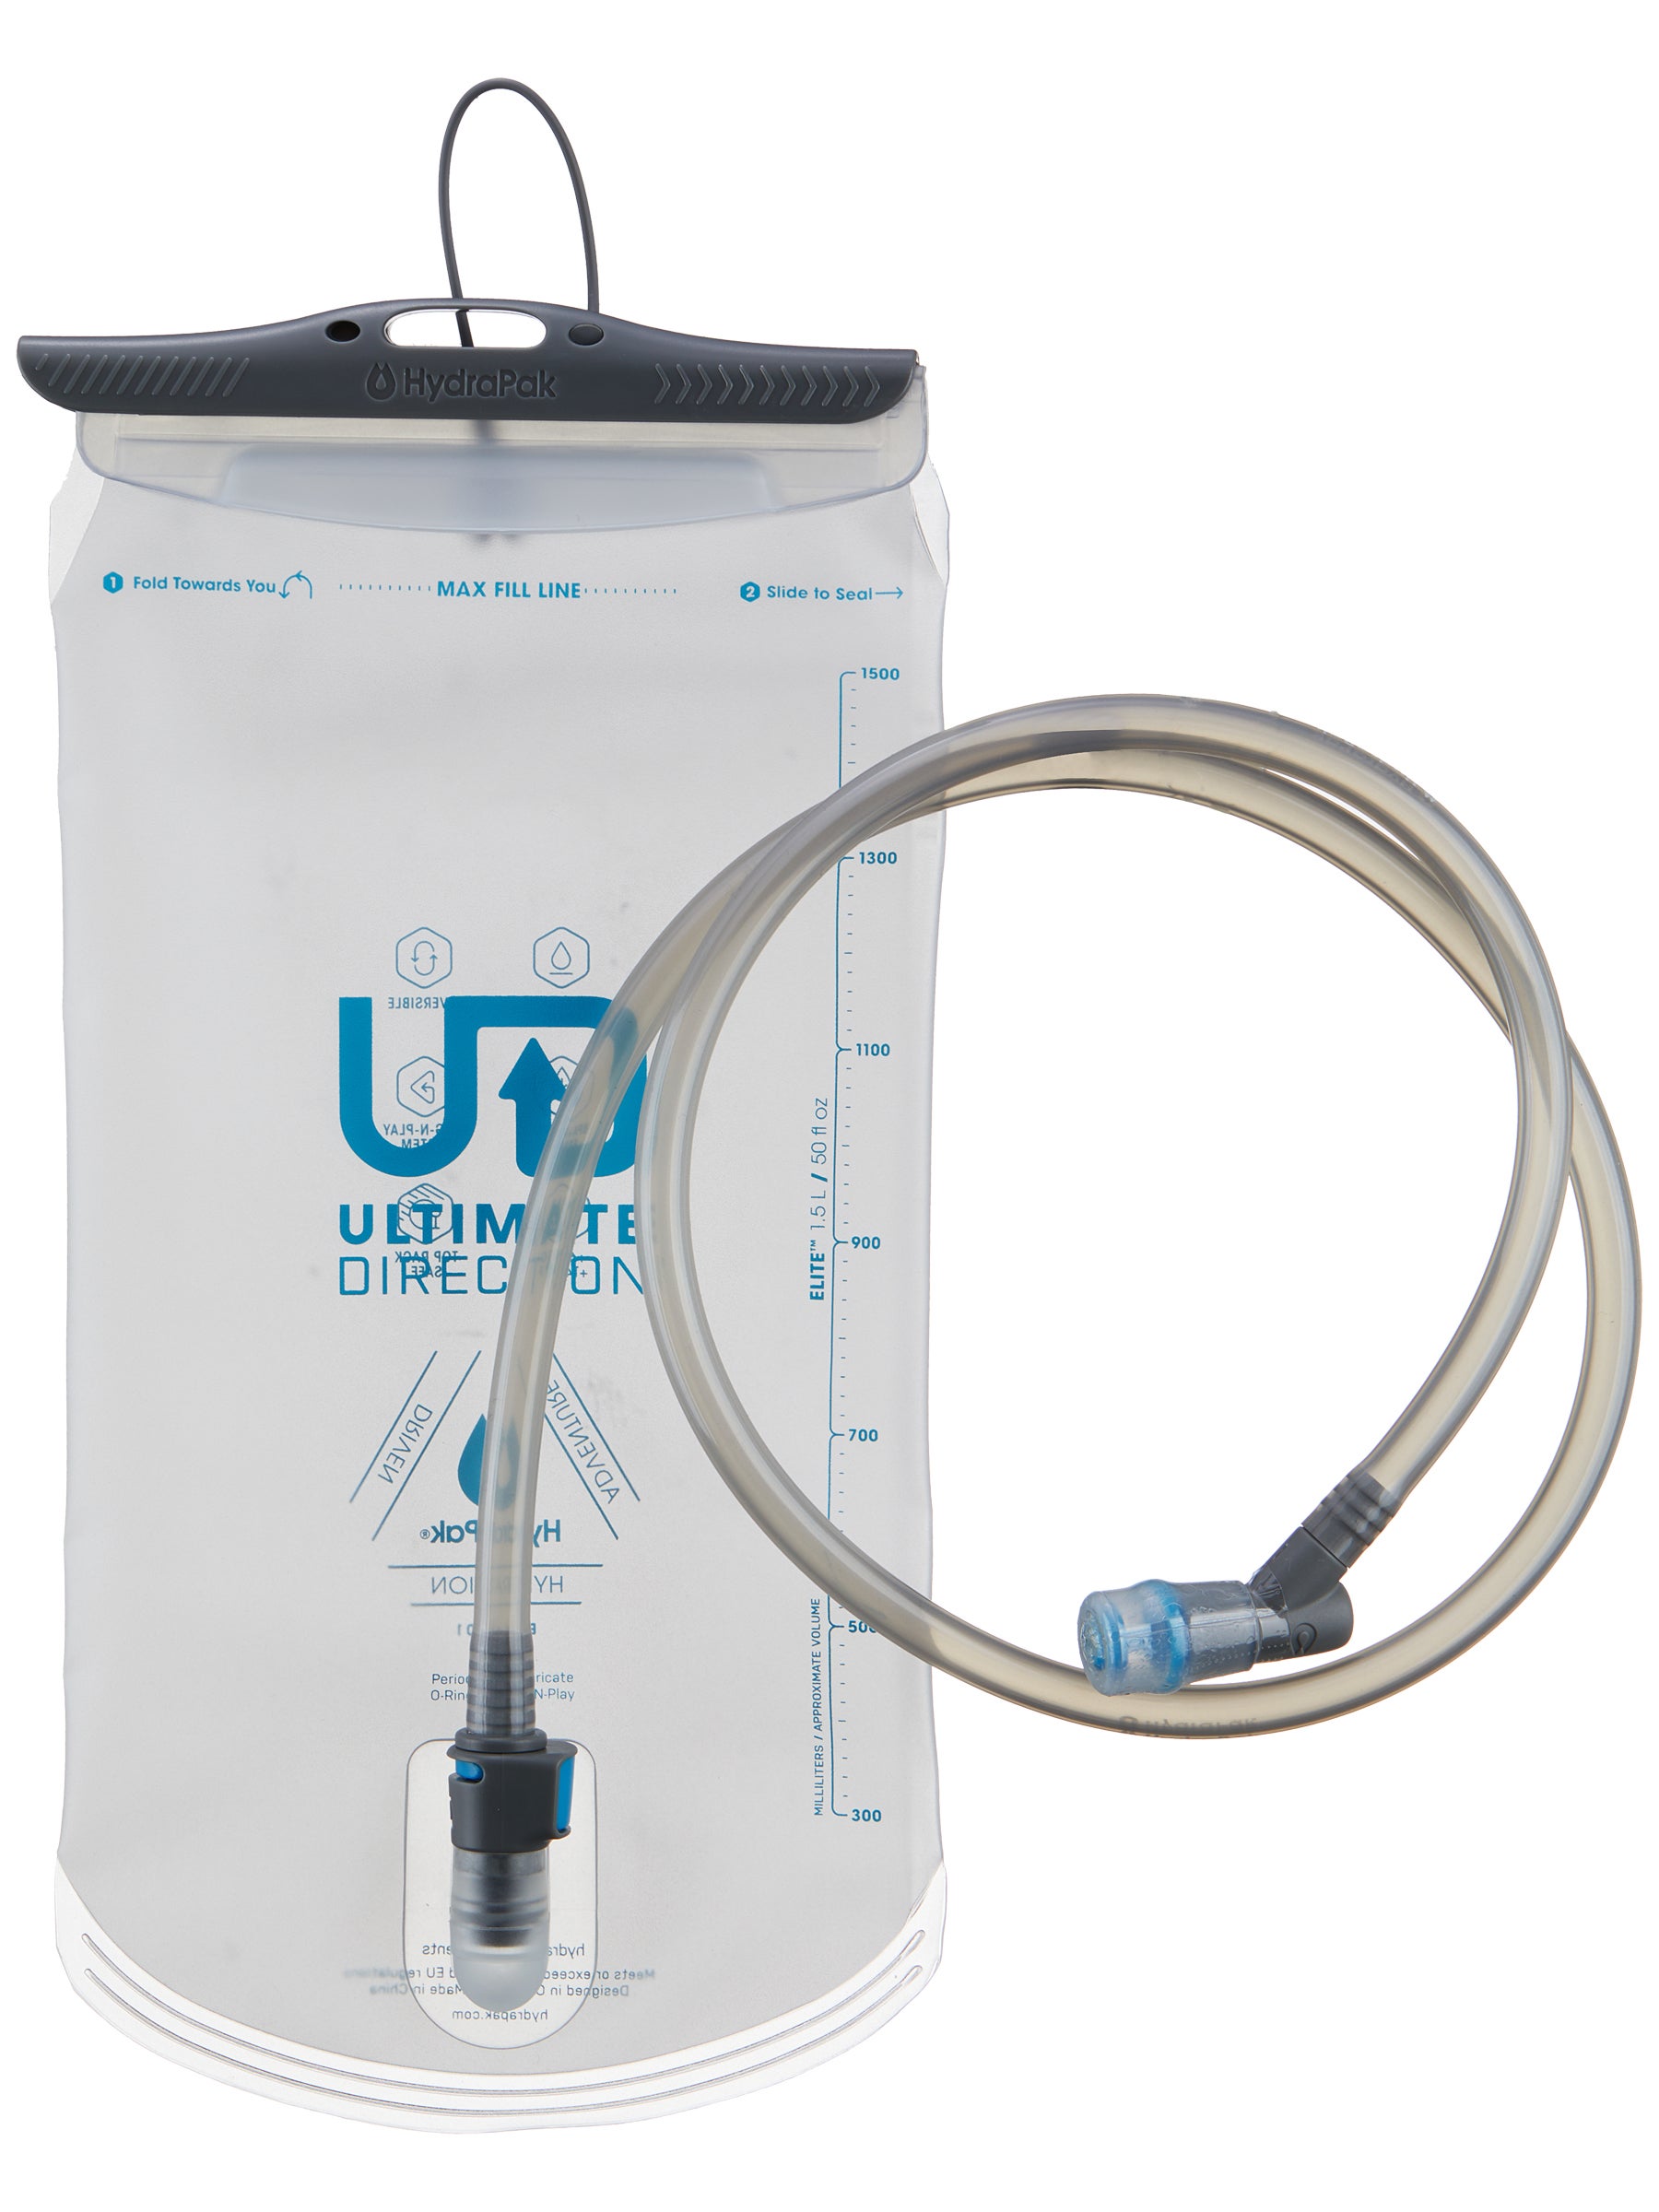 | Top-Fill Reservoir: Cleaning methods vary by brand, but slide-seal bladders can usually be flipped inside out. Reach in, grab the bottom, and pull through, flipping the plastic side seal tracks last. Wash with warm, soapy water, rinse with cool water, and let it dry propped open upside down. Many slide-seal bladders are also dishwasher safe (top rack only). |
 | Cap-Fill Reservoir: To clean a reservoir with a front-fill cap design, you'll want to use a long-handled brush and scrub out the inside with soapy water, then rinse thoroughly. Allow to drain and dry completely. |
After cleaning, rinse all components thoroughly with hot water to remove any soap residue. This step is essential to prevent any lingering soap taste in your water.
For occasional deep cleaning, you can mix warm water and baking soda. Let the mixture sit in the reservoir for about 30 minutes before scrubbing and rinsing it out thoroughly.
Properly drying your hydration bladder is crucial to prevent mold growth. Allow all components to air dry completely. You can hang them upside down on a drying rack or use a clean towel to absorb excess moisture.
We suggest drying your reservoir by placing it upside-down on top of a portable paper towel holder to keep it open and inverted or using salad tongs to keep it open while it dries.
If standard cleaning doesn’t work or you spot visible mold, try this deep-clean method to restore your hydration bladder:
|
You may notice a slight (or sometimes not-so-slight) plastic taste coming from your reservoir or tube, especially when it's new. This is normal and can be fixed easily with these simple steps:
|
Follow these simple hydration bladder cleaning and maintenance tips to keep your water fresh, prevent bacteria buildup, and extend the life of your hydration pack:
|

Cleaning your hydration bladder after every use is ideal, especially if you've filled it with anything other than water. For regular water use, a thorough cleaning every few uses is sufficient. Always ensure it's completely dry before storage to prevent mold growth.
Rinse any remaining liquid from the bladder, then hand wash with warm water and mild dish soap, using a soft brush to reach stubborn spots. Rinse thoroughly, then hang the bladder upside down in a well-ventilated area, or propped open on a drying rack, to allow complete drying before storing.
While hand washing is the safest and most widely recommended method for cleaning hydration reservoirs, some brands, like HydraPak, explicitly state that their reservoirs are top-rack dishwasher safe. Always check the manufacturer’s care instructions for your specific model to be sure. When in doubt, hand wash it out!
To prevent mold from developing in your hydration vessel, always ensure the bladder and hose are completely dry before storing. Store your gear in a cool, dry place, ideally away from direct sunlight, and clean it regularly to prevent odors from building up.
Clean gear means safe sips, longer life for your pack, and better adventures all around. By getting in the habit of routine rinsing, drying, and storing properly, you’ll prevent bacteria and funky flavors from tagging along on your run. Keep it fresh with regular care, and if your setup needs an upgrade, we’ve got you covered with our full lineup hydration gear!