How to Clean a Hydration Pack Bladder
Updated: August 28, 2024 by Liz Schteiden
Is your hydration bladder developing an unpleasant smell or taste? Keeping your reservoir clean will extend its lifespan and prevent mold or mildew growth. Even though it may seem like a pain, with a bit of know-how, keeping your hydration bladder clean and sanitized can be a breeze. This article includes tips for hard-to-clean reservoirs and hacks to make yours last. If you're looking for a new pack, read our guide on How to Choose the Best Running Hydration Pack for your needs.
Why Cleaning a Hydration Bladder is Important
- Health and Hygiene: Stagnant water and residual sugars from energy drink mixes can create a breeding ground for bacteria, potentially leading to gastrointestinal issues. Cleaning the bladder removes these contaminants, ensuring your drinking water remains safe and hygienic.
- Taste and Odor: Over time, a neglected hydration bladder can develop unpleasant tastes and odors that affect your drinking experience. Proper cleaning helps maintain the fresh, clean taste of water, encouraging you to stay hydrated.
- Mold and Mildew Prevention: Mold and mildew thrive in damp environments; if not properly cleaned and dried, your hydration bladder can become a prime location for their growth. These contaminants not only affect the taste but can also pose health risks.
- Longevity: Regular maintenance can extend the lifespan of your hydration bladder. Well-maintained bladders are less likely to develop leaks or suffer from wear and tear, ensuring you get the most out of your investment.
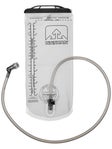
Cleaning the Hydration Bladder/ Reservoir
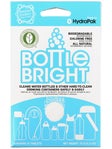
Step 1: Gather Your Cleaning Supplies
Before you begin, make sure you have all the necessary cleaning tools on hand. A cleaning kit designed for hydration bladders can be extremely helpful. Gather the following:
|
Step 2: Empty and Disassemble
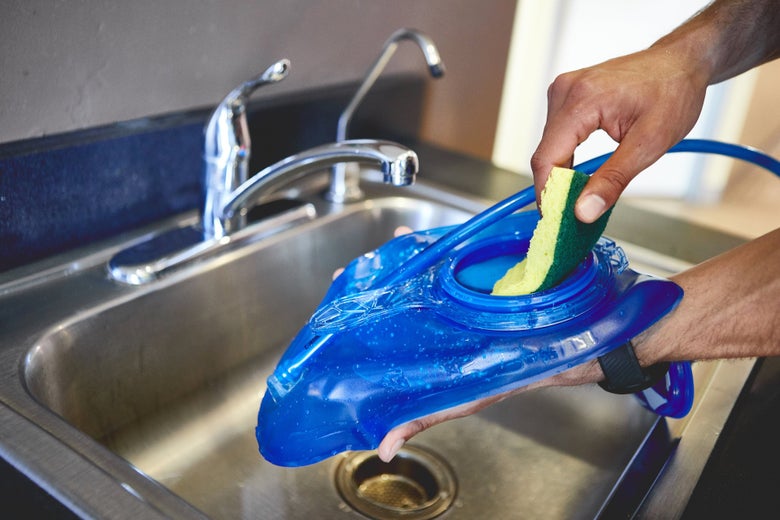
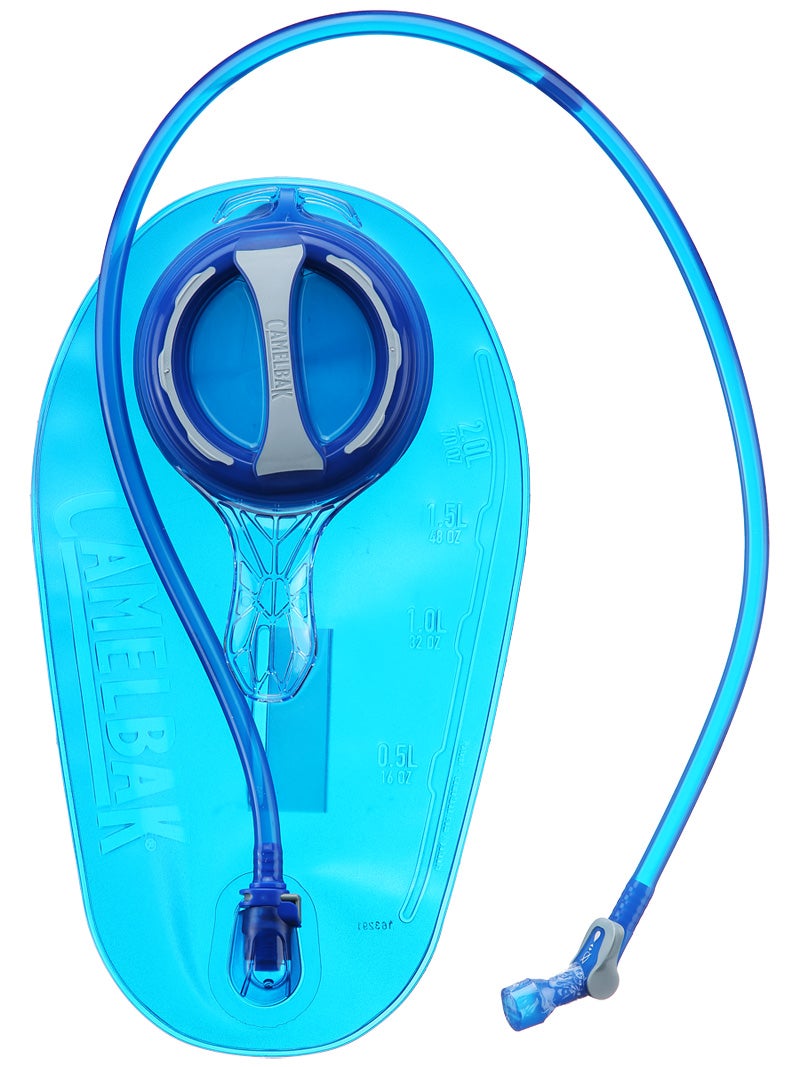
Empty and disassemble the hydration bladder by carefully removing the reservoir from its pouch or pack. Then, separate the hose and bite valve from the reservoir for a more thorough cleaning process, ensuring all components are properly cleaned.
Step 3: Clean the Reservoir
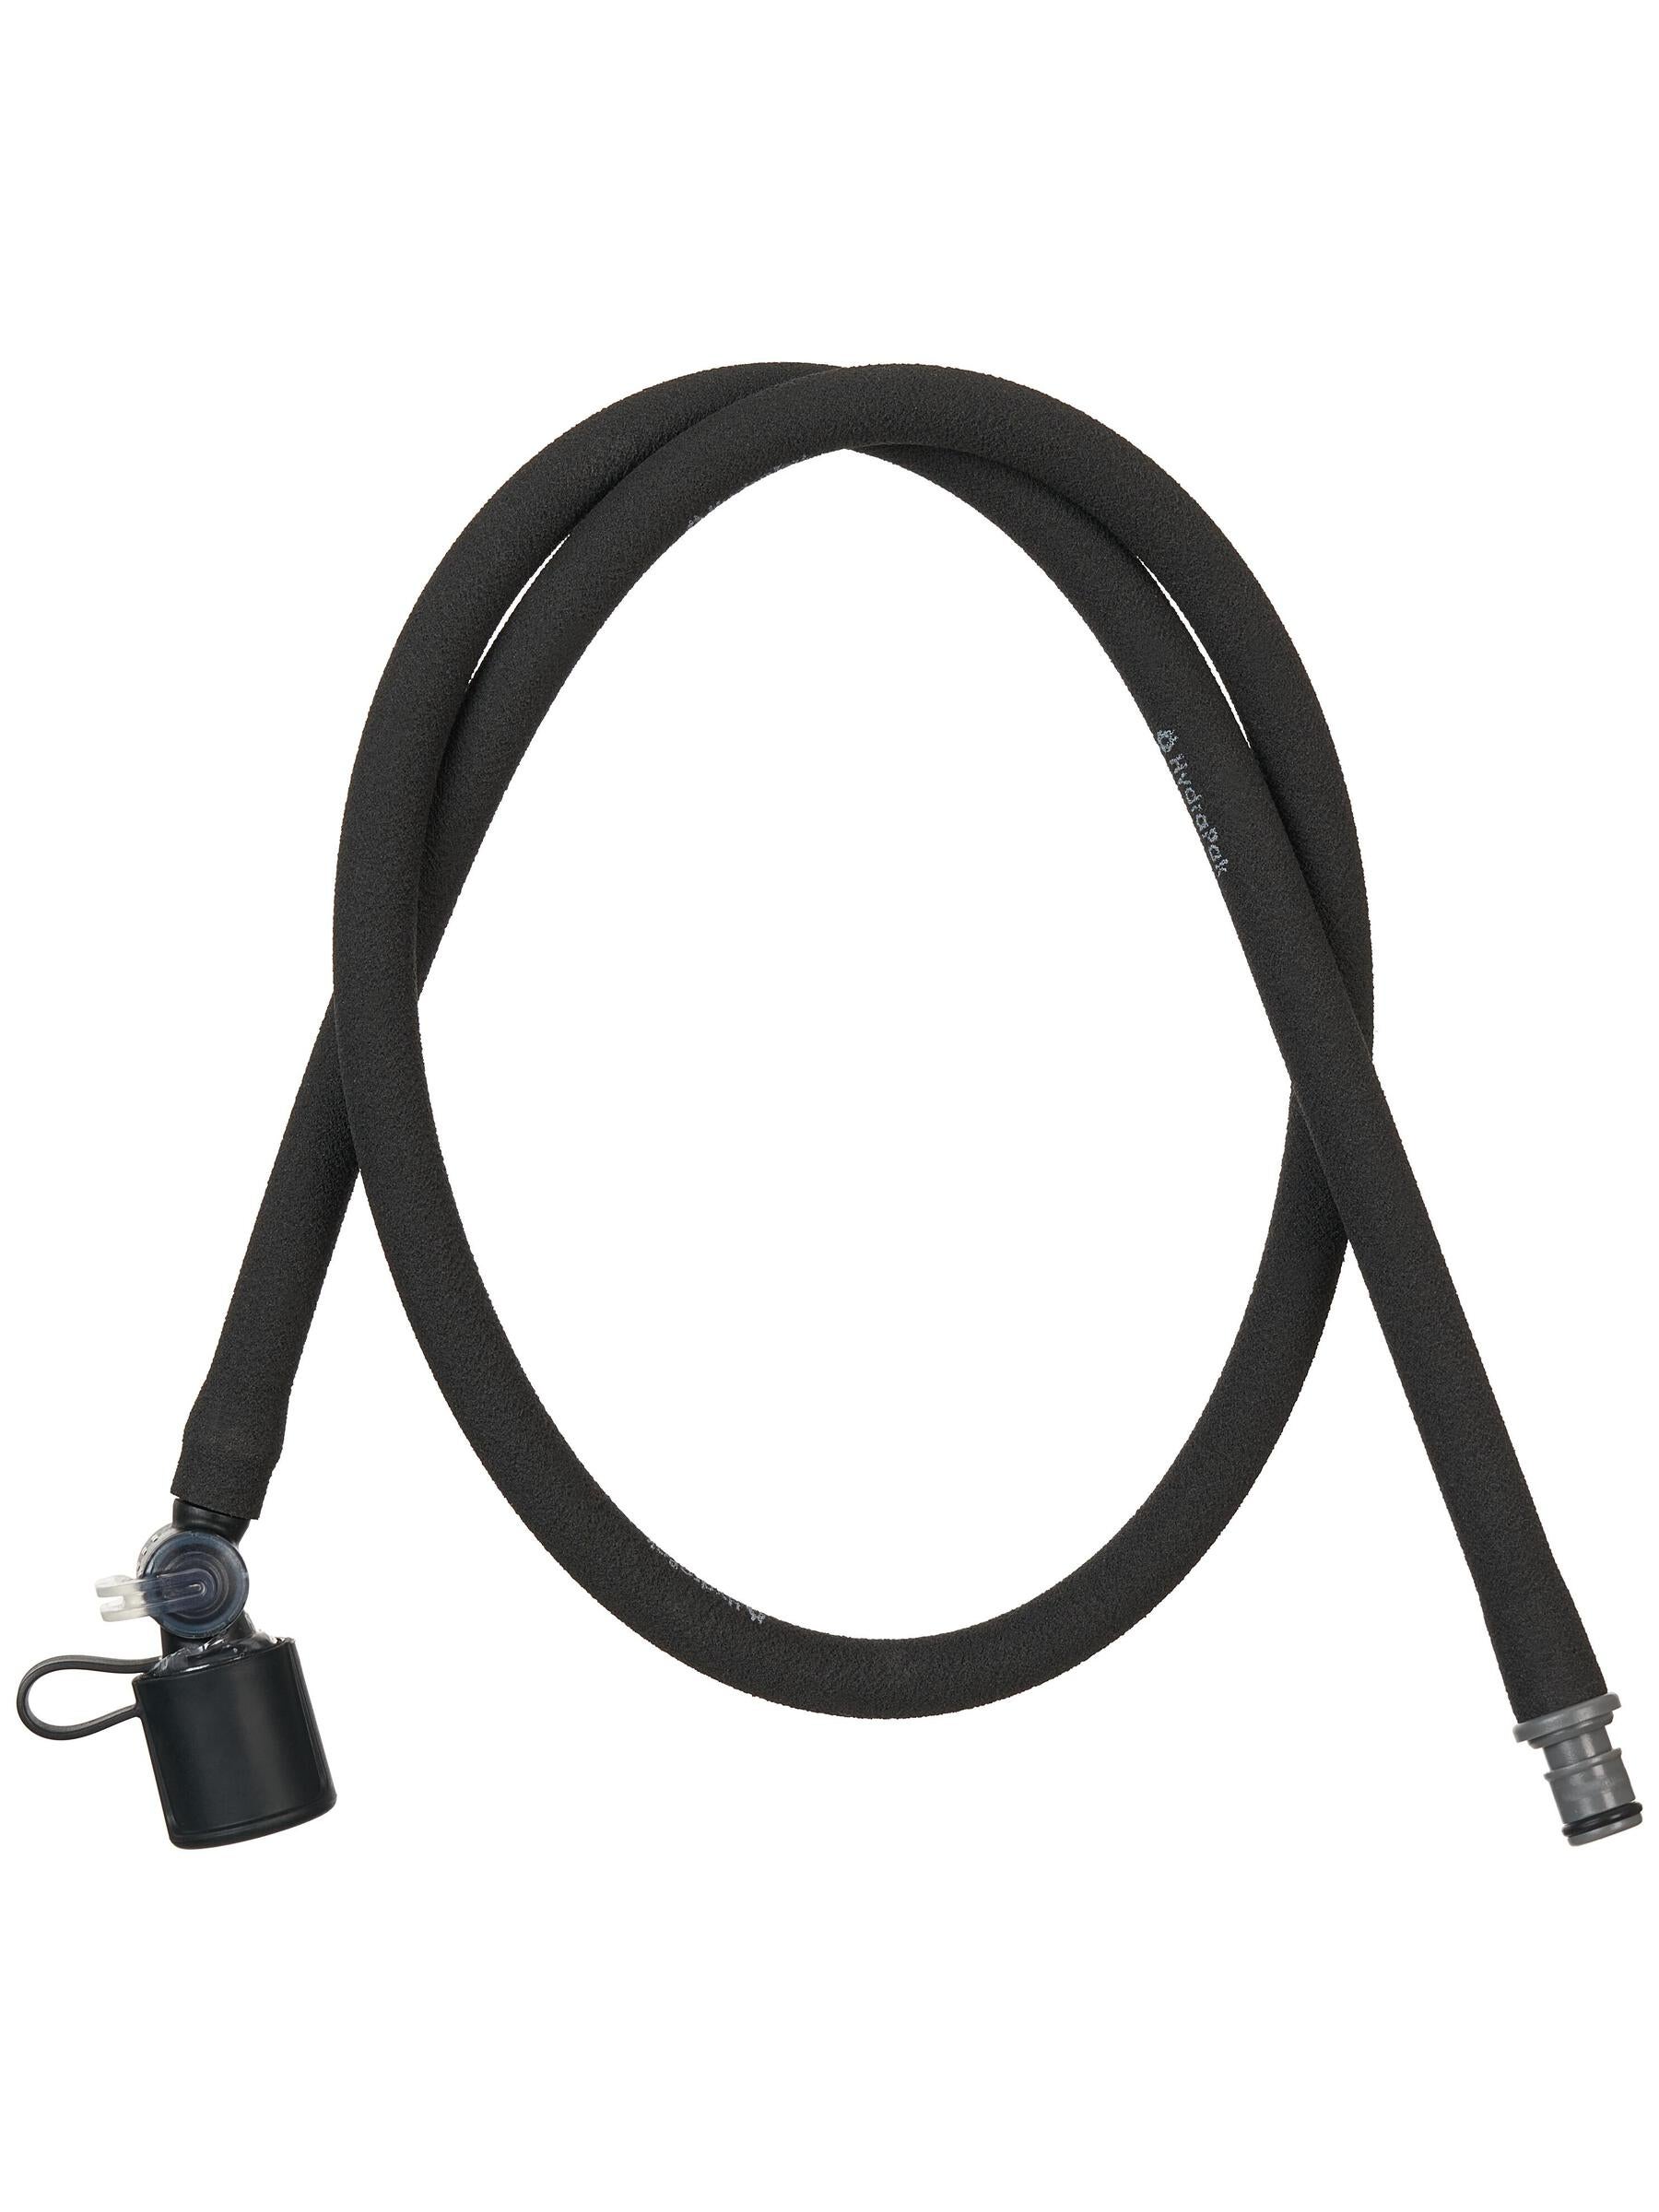
Reservoir Tube: Reservoir tubes can be cleaned by simply disconnecting the hose from the body of the bladder. This can be done by pressing the quick disconnect button or pulling the tube from the housing if the quick disconnect option is not available for your bladder. Clean the bite valve with warm water and mild soap or detergent, then run hot tap water through the tube, pressing the bite valve to allow the water to flow all the way through for a few seconds. Specific brushes can be used on hard-to-clean tubes. Drain the tube and set it aside to dry completely. To clean the bite valve, ensure you disassemble it as much as possible and clean all its components thoroughly.
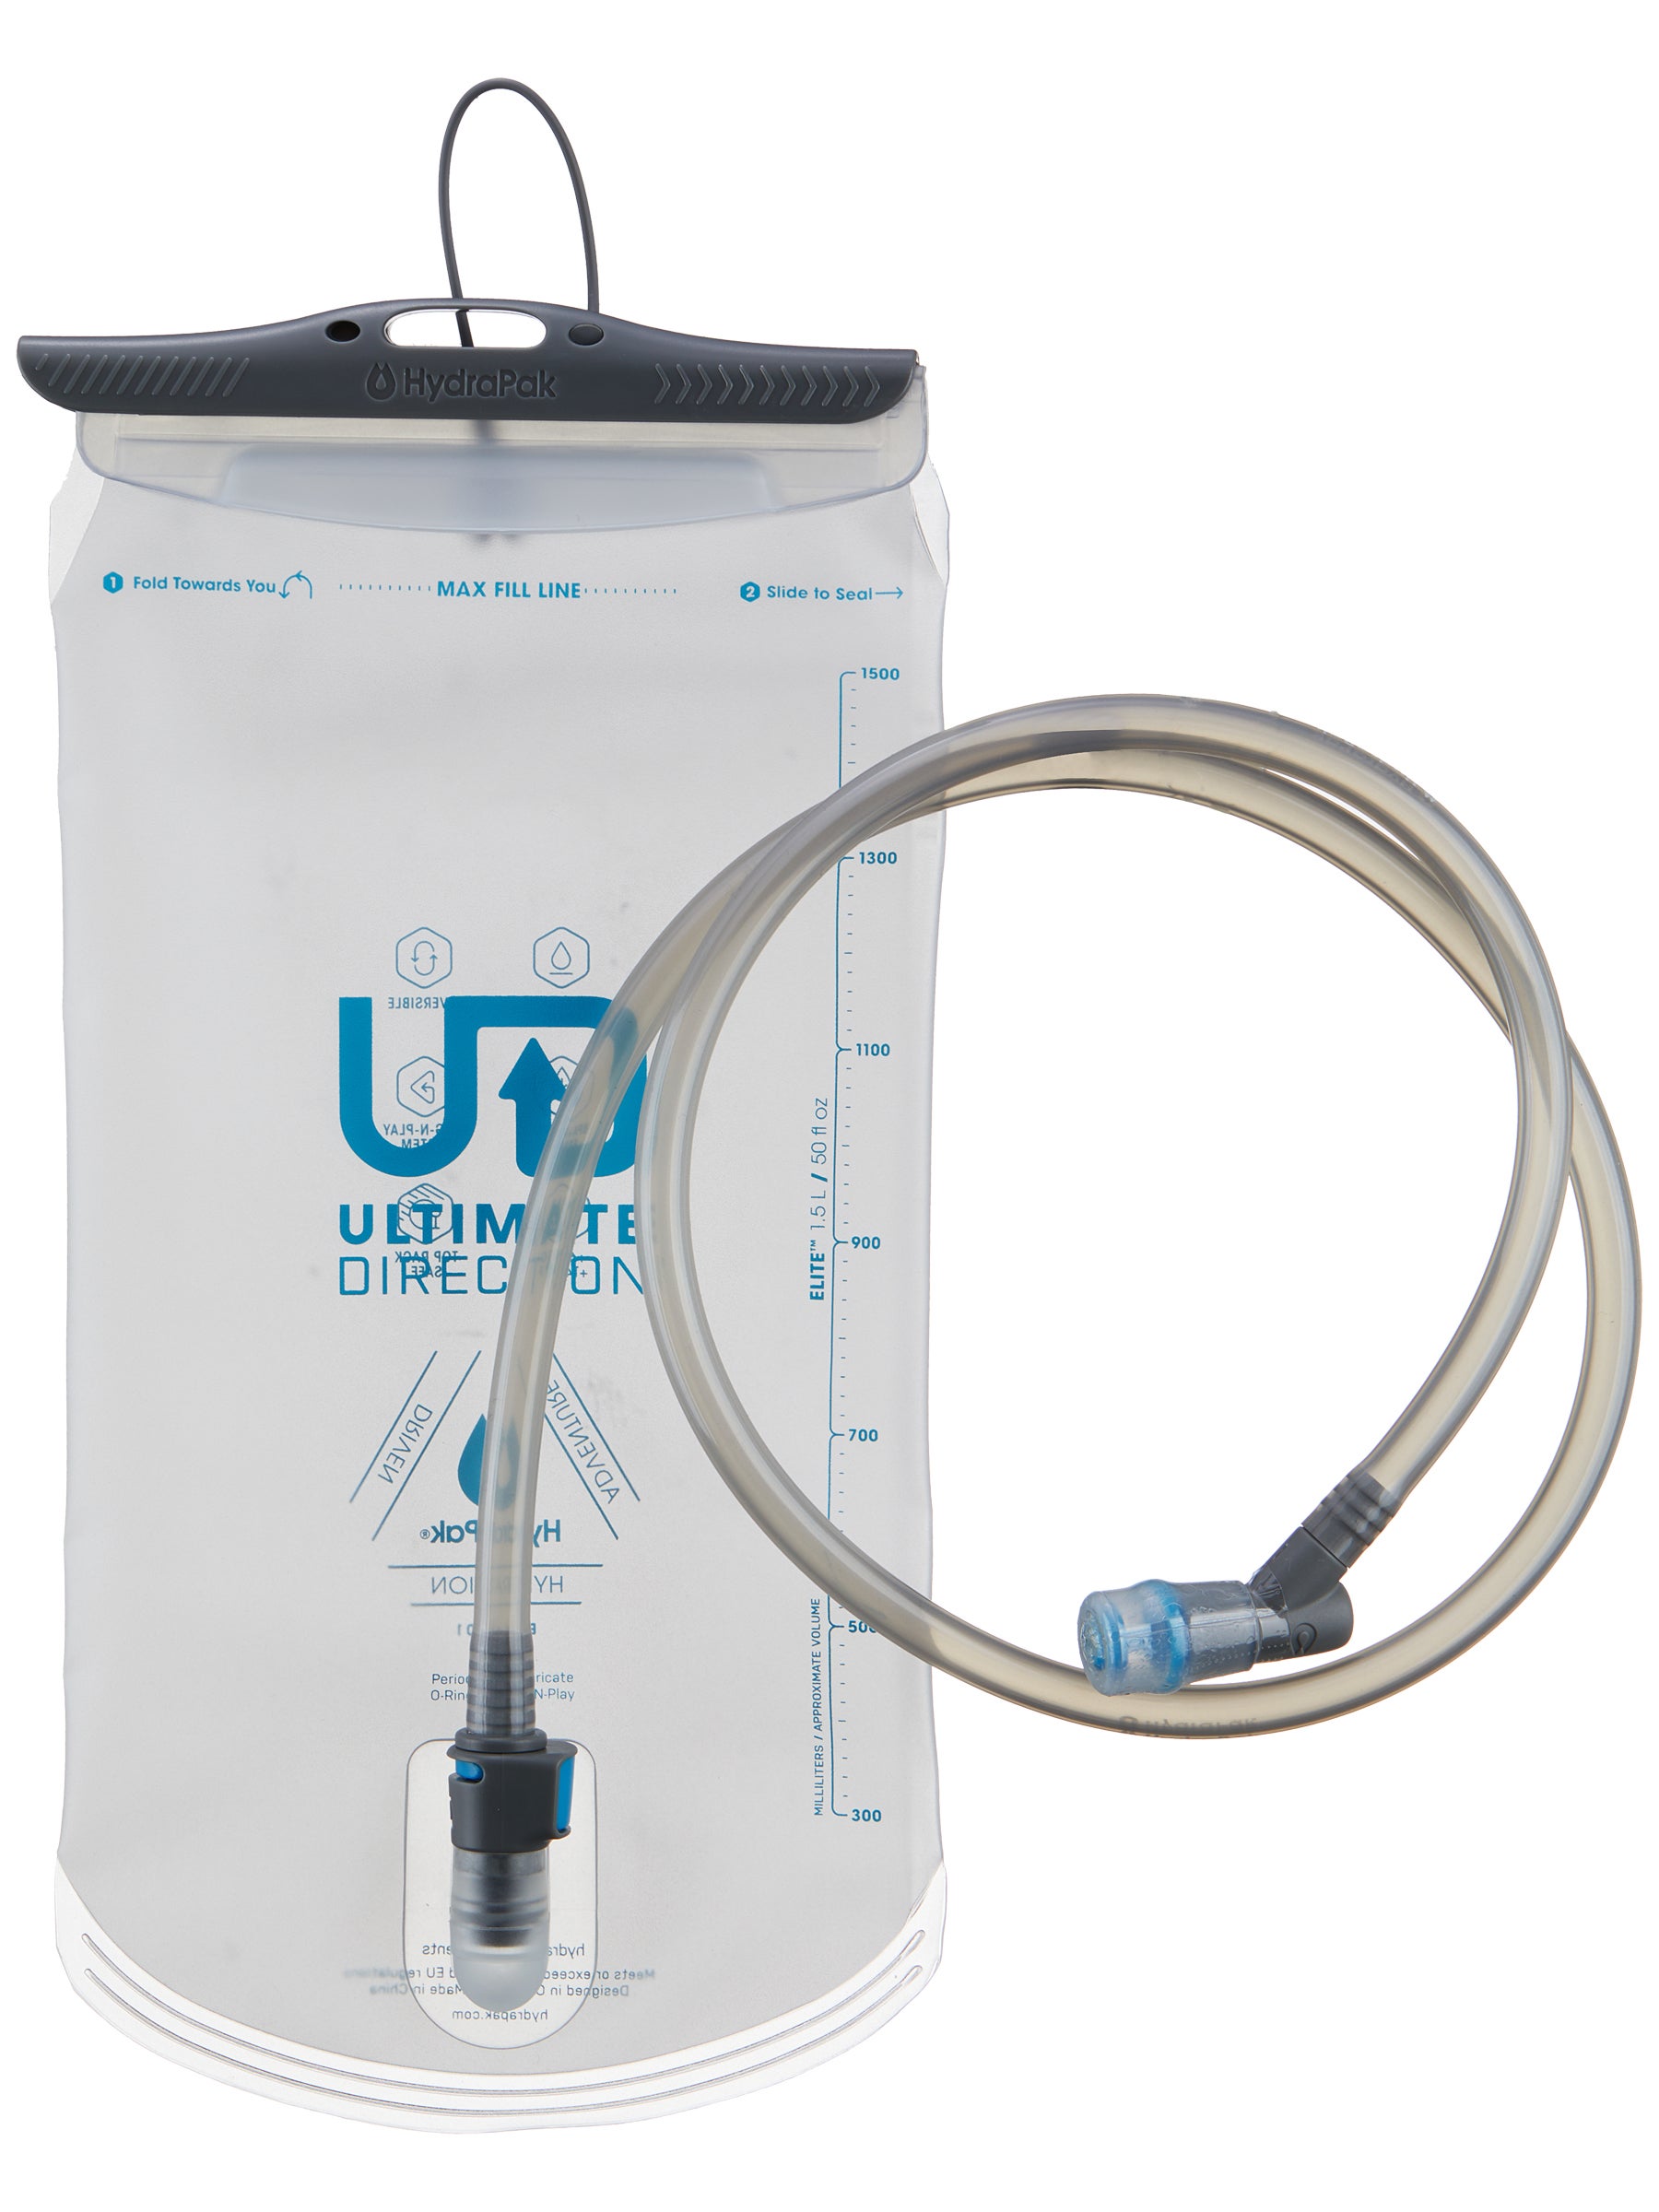
Top-Fill Reservoir: Cleaning the reservoir itself will vary depending on the brand. Bladders with a top-fill slide seal design can be flipped inside out for easy cleaning. To do this, reach inside the reservoir and grasp the interior bottom firmly, then pull it inside out, flipping the plastic tracks for the slide seal last. Once the bladder is inside out, clean it with warm, soapy water and rinse it thoroughly with cool tap water. To dry, prop the bladder open and let it sit upside down to drain. Slide-seal bladders can be washed in the dishwasher (top rack only).
Cap-Fill Reservoir: To clean a reservoir with a front-fill cap design, you'll want to use a long-handled brush and scrub out the inside with soapy water, then rinse thoroughly. Allow to drain and dry completely.
Step 4: Rinse Thoroughly
After cleaning, rinse all components thoroughly with hot water to remove any soap residue. This step is essential to prevent any lingering soap taste in your water.
Step 5: Deep Cleaning (Optional)
For occasional deep cleaning, you can mix warm water and baking soda. Let the mixture sit in the reservoir for about 30 minutes before scrubbing and rinsing it out thoroughly.
Step 6: Drying Techniques
Properly drying your hydration bladder is crucial to prevent mold growth. Allow all components to air dry completely. You can hang them upside down on a drying rack or use a clean towel to absorb excess moisture.
Tip: We suggest drying your reservoir by placing it upside-down on top of a portable paper towel holder to keep it open and inverted or using salad tongs to keep it open while it dries.
How to Clean Reservoirs With Bad Mold Growth
If you have already tried cleaning your reservoir to no avail or if there is visible mold in your reservoir, follow these steps to bring your bladder back to life:
|
How to Remove a Plastic Taste From Your Reservoir
You may notice a slight (or sometimes not-so-slight) plastic taste coming from your reservoir or tube, especially when it's new. This is normal and can be fixed easily with these simple steps:
|
How to Remove Odor or Bad Taste From Your Reservoir
No one wants a smelly hydration bladder disturbing their run. Follow these steps to help eliminate unpleasant odors:
|
Maintenance Tips
Follow these easy steps to prohibit mold growth and extend the life of your reservoir:
|
Is your reservoir too far gone? Still can't get the odor or bad taste out? Shop our selection of Hydration Bladders here.
Shop Hydration Bladders


Related Articles